User Guide
Setup
As a user, ask a super-user to set up an account for you. S/he will need your name and a valid email address. Once the account has been created, you will receive an email with your username. It will ask you to set your password. After you have completed this step, you can login to the web interface.
First Login
Upon first login, you will be asked to set your public Secure Shell (SSH) deployment key. Setting this key is necessary for deploying your experiments. It serves two purposes: The key allows oTree Manager to identify users when they are uploading an experiment. Thus, oTree Manager can make sure that you can only upload experiments to oTree instances that belong to you. Furthermore, setting the SSH key removes the hassle of handling user names and passwords.
The web interfaces contains instructions on how to find and uploading your public SSH key. It also tells you how to generate a key if it is not yet present on your system.
Dashboard
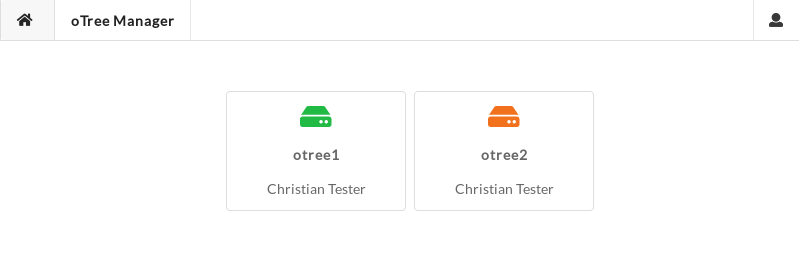
After logging in, you are presented with a dashboard which shows all oTree containers currently assigned to you. Green symbols indicate that an oTree instance has been created and that the container is up and running. Orange symbols indicate that oTree is not currently deployed on the respective container. Clicking on any container brings you to its detail screen.
The house icon in the top left corner always brings you back to the dashboard. The user icon in the top right corner opens a menu which allows you to navigate to password change and SSH key change pages. It also offers an option to logout.
Detail View
This is the main management screen for your oTree installation. It gives you all the details on its status and its configuration. The screen also provides access to all management features, including setting the oTree admin password, resetting the database, and configuring the Lobby feature.
Multiple folding sections make up the biggest part of the detail box. Depending on the state of the instance, different sections will open by default.
Git Details
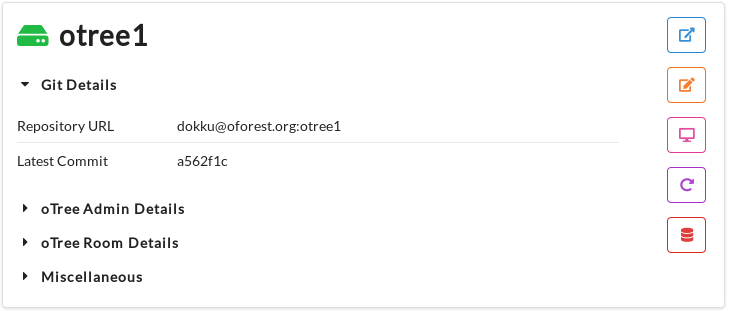
This section shows the repository URL you need to add as a Git remote in order to push your experiments to the instance. It also shows a ID of the last commit for reference.
oTree Admin Details
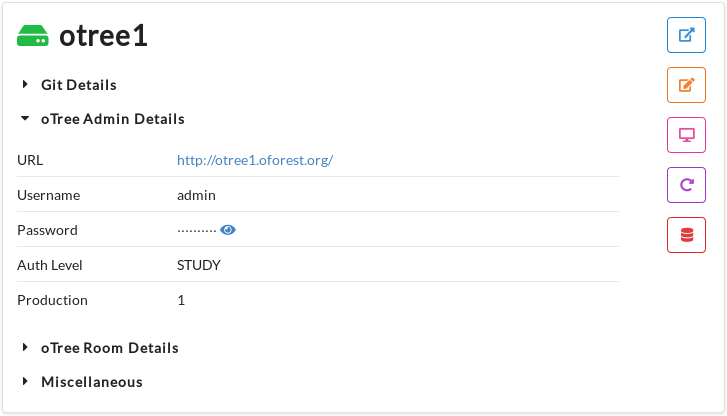
This section gives you the URL of your oTree instance, its admin username and password. It also reports on the currently activated auth level and whether debug mode is off (Production == 1).
oTree Room Details
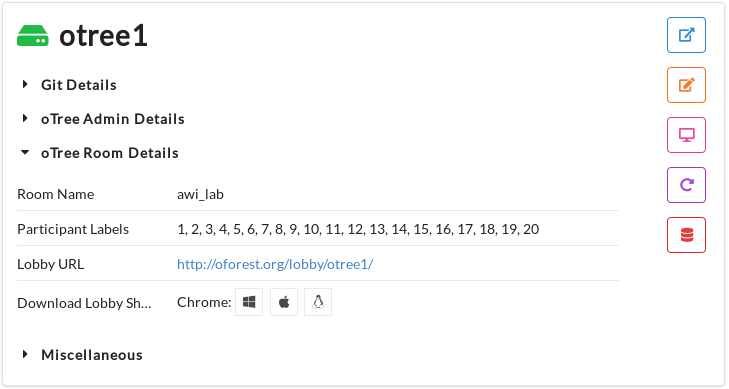
Here you can find the name of the room (from your settings.py) that is currently configured to be served by oTree Manager’s Lobby feature. It also shows the corresponding participant labels. Finally it gives you the URL of the lobby, as well as allows you to download desktop shortcuts for each participant label. These shortcuts, which are available for all major platforms, open the Chrome (or Chromium) web browser in kiosk mode and direct it to the lobby page for the respective participant (label).
Miscellaneous
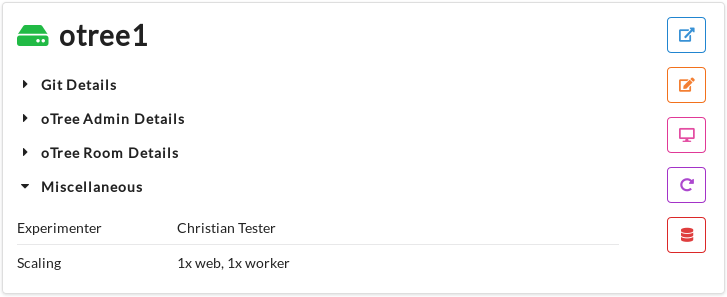
This section shows who the instance belongs to as well as information on the scaling, that is, how many web and worker processes are currently available for the instance.
Actions


Lobby
When running experiments in a laboratory setting, experimenters often want to setup the room and workstations before participants enter the room. Typically, the experimenter boots the computers and opens the experimental software. In the case of oTree, this means starting a browser (in kiosk mode) and navigating to the correct session’s URL. oTree’s room feature caters to this use case as it provides persistent links to a waiting page. These links can be used in combination with participant labels to easily map workstations to data collected in the experiment for payment purposes.
The room feature also allows to open browsers on all workstations and have the clients wait for the session to start. However, many times the exact number if participants in a session is ex-ante uncertain. Participants may fail to show up without prior notice. In these cases, if fewer participants are present than anticipated, the experimenter has to manually close the browsers on unused workstations so they do not take part in the session. This is especially important in experiments which rely on group matching, as participants might end up being matched with an unused client. Importantly, the ‘present’ counter on oTree’s room admin page is also not helpful in checking for the correct number of participants if the links have been opened on all client computers beforehand.
oTree Manager’s Lobby feature avoids the manual intervention by the experimenter. Building on the room feature of oTree, it provides individual links for each participant label. If opened, the screen greets the participant and asks him/her to simply click a button once they have settled in at their cubicle. Clicking the button forwards the participants to oTree’s actual room waiting page.
This setup has multiple advantages: First, the ‘present’ counter on oTree’s room admin page is meaningful, as only those clients show up, which have participants who clicked the ‘ready’ button. Second, because of the additional step necessary to get to the room’s waiting page, there is no need to manually close the browser on unused workstations. They will not be connected to your oTree session.
If a room has ben configured for use with the Lobby feature, the detail view provides a link to the Lobby Overview, which shows all lobby links in a convenient grid. It also provides download links for desktop shortcuts for each client. The shortcuts expect the Chrome or Chromium browsers to be installed. The browser is both modern and comes with an integrated kiosk mode. The shortcuts are available for all major operating systems.